
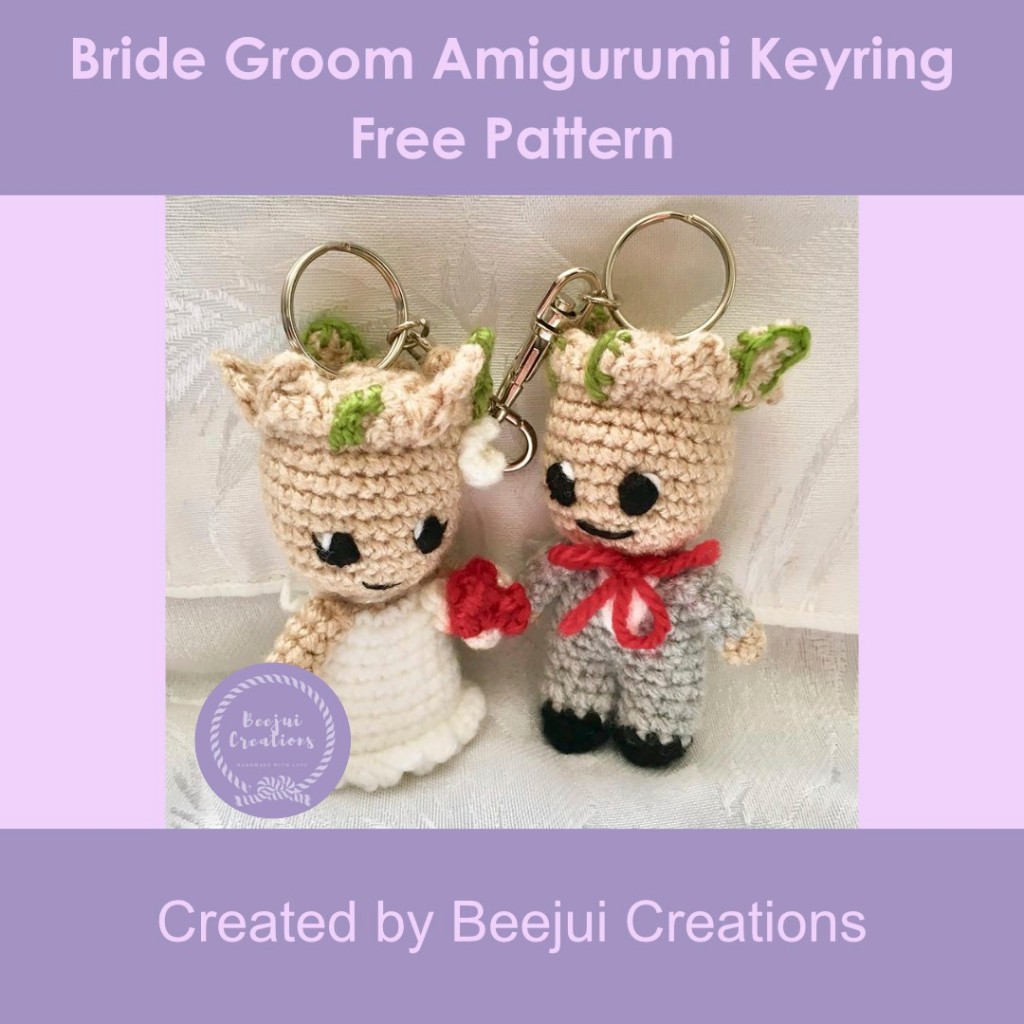
Bride Groom Character Keyring – Free Pattern
Bride Groom Character Keyring
Free Pattern
This Bride Groom Character Keyring – Free Pattern was designed and inspired because I just love baby Groot. He’s so adorable! To clarify I have a little bobblehead of him in my car and he definitely makes me smile daily. When I was asked to make a wedding gift for two lovers of this character, I was so excited to have a chance to make them.
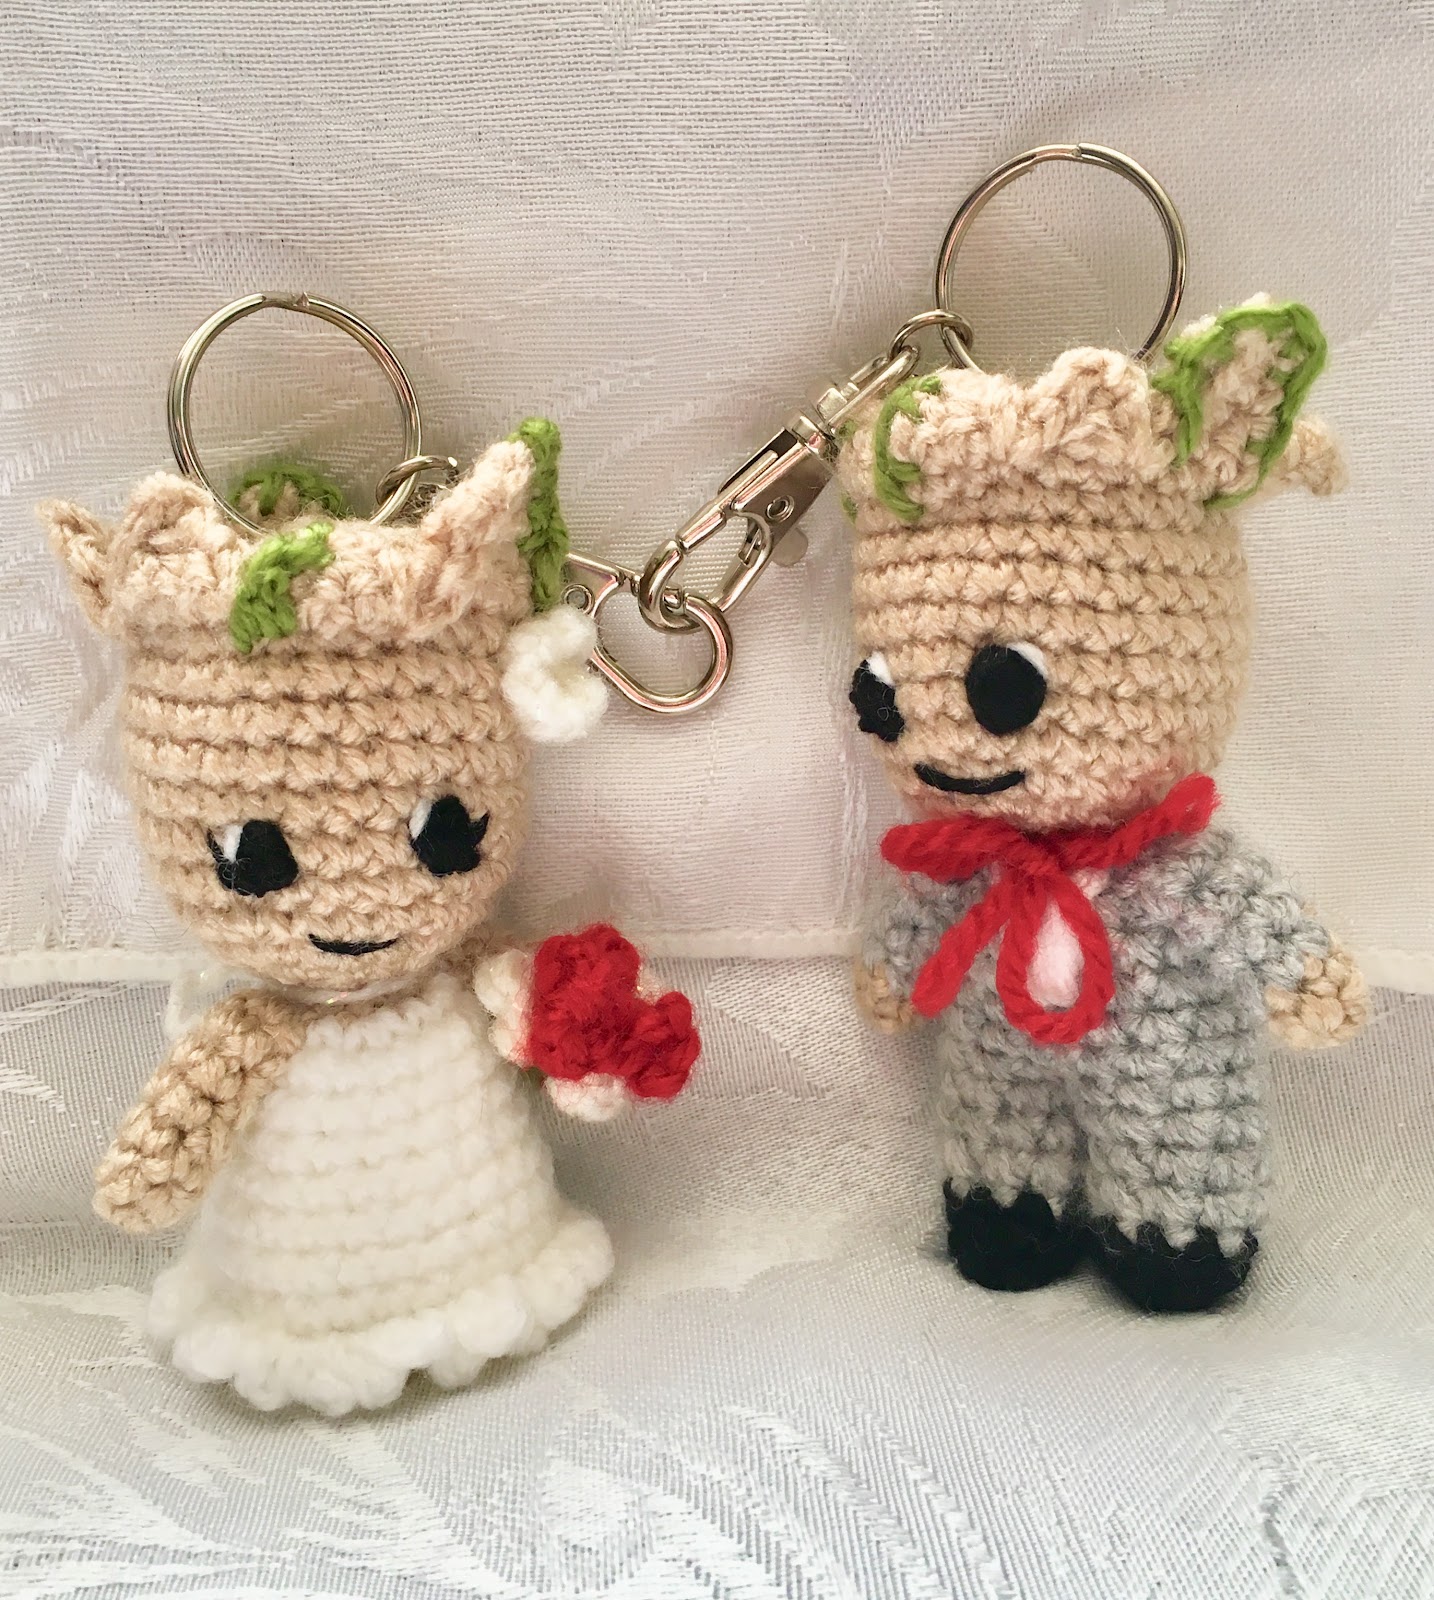
You could make these in any colour you choose, you could also use the same colour theme as the wedding party. You can turn this Bride Groom Character Pattern into a keyring as I have for example. Or likewise, add a ribbon to the top of their heads or leave them as small soft plushies to use as a cake topper, you choose!
For your Bride Groom Character Keyring – Free Pattern you will need:
- 3.5mm / 4mm crochet hook (depending on how tight you crochet, I used a 3.5mm)
- DK yarn in:
- Camel Stylecraft Special DK yarn
- Cypress Stylecraft Special DK yarn
- Grey Stylecraft Special DK yarn
- Matador Stylecraft Special DK yarn
- White Stylecraft Special DK yarn
- Black Stylecraft Special DK yarn
- (I’m unsure of the amount I used but it was less than 50g of each)
- Soft toy filling – Hobbycraft
- Darning needle to sew it all together
- Keyring attachments (if using)
This post contains affiliate links. If you use these links to buy something I may earn a commission. Thanks.
Stitches / Abbreviations: (US Crochet)
- MR – Magic Ring
- SC – Single Crochet
- INC – Increase
- DEC – Decrease
- BLO – Back Loop Only
- SK – Skip Stitch
- SS – Slip Stitch
- St/Sts – Stitch / Stitches
Bride Groom Character Keyring – Free Pattern
Head (made in 2 parts) – Beige Yarn
Use the same pattern for both the bride and the groom heads. However, to make them slightly different I gave the bride eyelashes and added a small flower to her ‘hair’.
The completed project is actually made up of two different patterns. The body is my pattern but the pattern for the head is not my design, it came from this fab designer: blog.twinkiechan.com/2014/08/13/baby-groot/#more-5970
I have tweaked the original pattern below slightly but credit still goes to the above – Thank You!
Head Part A
- Make a magic ring (MR), 6SC into MR (6sts) but do not join to first stitch, carry on working in the round
- INC in each st x 6 (12sts)
- 1SC, INC x 6 (18sts)
- 2SC, INC x 6 (24sts)
- 7SC, INC x 3 (27sts)
- 1SC in each st (27sts) x 5 rows
- SS – Do Not Fasten Off
Now start working on the ‘broken’ head segments.
“You’ll be crocheting triangular-ish and rectangular-ish shapes, and then slip stitching down one side of each shape to get your hook back to the head. We do this so we don’t have to break off and rejoin over and over again to continue our work. I broke each shape into different paragraphs so that they are easier to see and organize.
Ch 1, 3 sc evenly. Ch 1, turn. 3 sc evenly. Ch 1, turn. Sk 1 st, 2 sc evenly. Sl st down the side of the rows you just worked until you are about to work into the head again.
4 sc evenly. Ch 1, turn. 4 sc evenly. Ch 1, turn. Sk 1 st, 1 sc, sk 1 st, 1 sc. Ch 1, turn. Sk 1 st, 1 sc. Ch 1, turn. Sl st down the side of the rows you just worked until you are about to work into the head again.
4 sc evenly. Ch 1, turn. 4 sc evenly. Ch 1, turn. 3 sc, sk last st. Ch 1, turn. 3 sc. Ch 1, turn. Sk 1, 1 sc. Sl st down the side of the rows you just worked until you are about to work into the head again.
3 sc evenly. Ch 1, turn. 3 sc evenly. Ch1, turn. 1 sc, sk 1, sl st. Sl st down the side of the rows you just worked until you are about to work into the head again.”
Keep going!
“4 sc evenly. Ch 1, turn. 4 sc evenly. Ch 1, turn. Sk 1 st, 1sc, sk 1 st, 1 sc. Ch 1, turn. Sk 1 st, 1 sc. Ch 1, turn. Sl st down the side of the rows you just worked until you are about to work into the head again.
3 sc evenly. Ch 1, turn. 3 sc evenly. Ch1, turn. sk 1, 2 sc. Sl st down the side of the rows you just worked until you are about to work into the head again.
3 sc evenly. Ch 1, turn. 1 sc , sk 1, 1 sc. Ch1, turn. Sk 1, 1 sc. Sl st down the side of the rows you just worked until you are about to work into the head again.
3 sc evenly. Ch 1, turn. 3 sc evenly. Ch1, turn. 1 sc, sk 1, sl st. Sl st down the side of the rows you just worked until you are about to work into the head again.
SS into the head and fasten off. Weave in ends.”
http://blog.twinkiechan.com/2014/08/13/baby-groot/#more-5970
Finish the head by making a circle using head part B, see below:
Head Part B – Beige Yarn
- Make a magic ring (MR), 6SC into MR (6sts) but do not join to first stitch, carry on working in the round
- INC in each st x 6 (12sts)
- 1SC, INC x 6 (18sts)
- 2SC, INC x 6 (24sts)
- SS and fasten off. Leaving 24 inches of yarn. (For sewing to Part A of head)
Lightly stuff Head Part A.
“Since Head Part B is 24 sts around and open hole of Head Part A is technically 27 sts around, you can’t sew stitch for stitch, so just sew it on as best you can and make it look good. I found that using a 27 st circle was too big for the opening. You can use the top of Head Part A as a guide for sewing. While sewing, you also don’t want the head to look like it has Frankenstein stitches going all around it, so try to sew as invisible as you can. Put in more stuffing if needed.”
http://blog.twinkiechan.com/2014/08/13/baby-groot/#more-5970
Bride Character Keyring Pattern
Body – White Yarn
- Make a magic ring (MR),
- 6SC into MR (6sts) but do not join to first stitch, carry on working in the round (6sts)
- INC in each st x 6 (12sts)
- 1SC, INC x 6 (18sts)
- 1SC in each st (18sts) x 3 rows
- 2SC, INC x 6 (24sts)
- 1SC in each st (24sts) x 1 row
- 3SC, INC x 6 (30sts)
- 1SC in each st (30sts) x 1 row
- BLO – 3SC, DEC x 6 (24sts)
- 2SC, DEC x 6 (18sts)
- 1SC, DEC x 6 (12sts)
- Start Stuffing with soft toy filling
- DEC x 6 (6sts)
- SS, Fasten off and sew to close
Attach the yarn to body in the front loops where you made the BLO
- 3SC in each front loop stitch to end (this makes a frill around bottom of dress)
- SS, Fasten off and weave in ends
Bride’s Arms (make 2) – Beige Yarn
- Make a magic ring (MR), 6SC into MR (6sts) but do not join to first stitch, carry on working in the round
- 1SC in each st (6sts) x 5 rows
- SS, Fasten off and sew to body (no need to stuff)

Groom Character Keyring Pattern
Body – Grey Yarn
- Make a magic ring (MR), 6SC into MR (6sts) but do not join to first stitch, carry on working in the round
- INC in each st x 6 (12sts)
- 1SC, INC x 6 (18sts)
- 1SC in each st (18sts) x 5 rows
Separate the legs making a slip stitch in the other side of the body. Work legs separately. Working in 9sts each side.
- 1SC in each st (9sts) x 3 rows
- Start Stuffing with soft toy filling
- * Change to black yarn *
- 1SC in each st (9sts) x 1 row
- 1SC, DEC x 3 (6sts)
- SS, Fasten off and sew end of foot closed
Attach the grey yarn to body for the next leg and repeat for the other leg
- 1SC in each st (9sts) x 3 rows
- Start Stuffing with soft toy filling
- * Change to black yarn *
- 1SC in each st (9sts) x 1 row
- 1SC, DEC x 3 (6sts)
- SS, Fasten off and sew end of foot closed
Sew a ‘V’ shape in white to the front of the jacket to look like a shirt.
Groom’s Arms (make 2) – Grey Yarn
- Make a magic ring (MR), 6SC into MR (6sts) but do not join to first stitch, carry on working in the round
- 1SC in each st (6sts) x 4 rows
- * Change to beige yarn *
- 1SC in each st (6sts) x 1 row
- SS, Fasten off, sew to the body and weave in the ends
Sew both bride and groom’s heads and arms to their bodies
Leaf Garland Accents on Head – Light Green Yarn
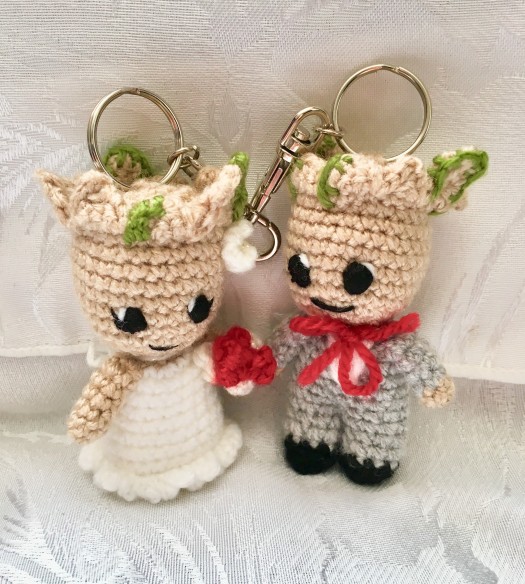
- Sew accents on both the bride and the groom’s heads by making a couple of stitches onto the ‘broken’ bits. (see pic below)
Flower Accents for Bride
- CH2, in 1st ch 4SC
- Fasten off and leave a long strand for sewing
Make 3 in red (bouquet)
- Sew all together then sew to hand with light green yarn
Make 1 in white (hairpiece)
- Sew to the side of the bride’s head, just below a ‘broken’ part of the head
Sew the eyes and the mouth on both bride and groom with black and white yarn. In addition, add lashes to bride to make her pretty.
Tie a bow around each of their necks with a strand of yarn.
- Use red yarn to make a front facing bow for the groom to look like a bow tie.
- Use white yarn with back facing bow for the bride to make a pretty bow.
Sew keyring attachment (if using) securely to the top of both the bride and groom’s head.

All completed!
I hope you have enjoyed making your very own Bride Groom Character keyrings. I would love it if you could share a picture of your creations and link back to this pattern if shared elsewhere, thank you.
If you need any further guidance please contact me at Beejui Creations
Follow my blog by joining my email list
Check out more Amigurumi patterns:


Accessories amigurumi Blog Free Patterns Handmade crochet patterns amigurumi bagcharm bride Character Crochet DKyarn Free Patterns groom handmade keyring patterns wedding weddingcouple


What size yarn did you use and what size hook? i have already made Twinkie Chan’s baby groot pattern for my niece using worsted weight yarn and a G hook. It seems your Groots look smaller to me.
LikeLiked by 1 person
Hi,
I used double knit yarn and a 3.5mm crochet hook. I naturally crochet quite tightly though so maybe play around with crochet hooks between and see which you prefer. Hope this helps x
LikeLike
I just created a bride and groom groot. Thanks for the inspiration. Mine are a little different than yours are.
LikeLiked by 1 person
Fantastic! I’m so glad I have inspired you 😊 I’d love to see a picture of your version x
LikeLike
Would you be willing to make these I would love to buy them for my wife when get married next year
LikeLike
Hi and thank you for your comment. These were a one off item I made as a gift for a friends wedding. Due to ‘groot’ being copyrighted I am so sorry but I cannot sell these.
LikeLike
Thank you so much for sharing your pattern !
LikeLike